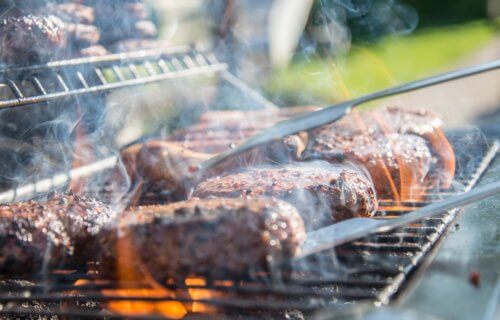
The summer months in the U.S.A. are the clarion call for outdoor grillers. As many Americans want to maximize their outdoor time during the warm summer months, some turn to the grill as a favored method for cooking. Mastering the art of the grill can be tough for learners and first-time cooks. We turned to our sources to learn about the top five best grilling tips for succulent steaks and wonderful wings.
Every generation of American Adults has a unique relationship with the BBQ grill, fifty-three percent of millennials say they’ve grilled their breakfast, compared to only 24 percent of boomers. Results also revealed the generations can sometimes differ when it comes to their sauce preferences. Gen Zers like hot and spicy sauce flavors on grilled foods the most (38%), with baby boomers least likely to favor these flavors (28%). Overall, though, more than three-fourths of all respondents (79%) enjoy their foods dipped, drizzled, or smothered in sauce.
“It’s interesting to discover that the ‘meal kit’ generation is also the one that considers themselves to be the most skilled when it comes to grilling,” says Kate Neuhaus, Global Marketing Director for TABASCO Brand, in a statement. “We’re firing up the grills this summer to see how the generational divide is changing up the rules of backyard grill outs and rooftop BBQs.” Boomers are the most likely generation to cook American BBQ (50%) and prefer it to other flavors. Culinary preferences aside, burgers (45%), chicken (43%), and hot dogs (43%) top the list of foods people think they’re the best at grilling.
Plus, summertime grilling can be an opportunity for home-cooks to showcase their culinary talents: Meals to impress at a cookout include a whole chicken (32%), beef brisket (29%), and upgrading from standard bread to brioche rolls (25%). Many describe their own barbecues as unique (48%), flavorful (48%), and even chef standard (39%). For half the poll, barbecues have become healthier in the last decade, and 44 percent think they are now more suitable for all dietary requirements.
If you have decided that it’s high time you flexed some culinary muscle at the grill, our list of the top five best grilling tips aims to give you that extra edge. Let us know your favorite BBQ cheats and techniques in the comments below!
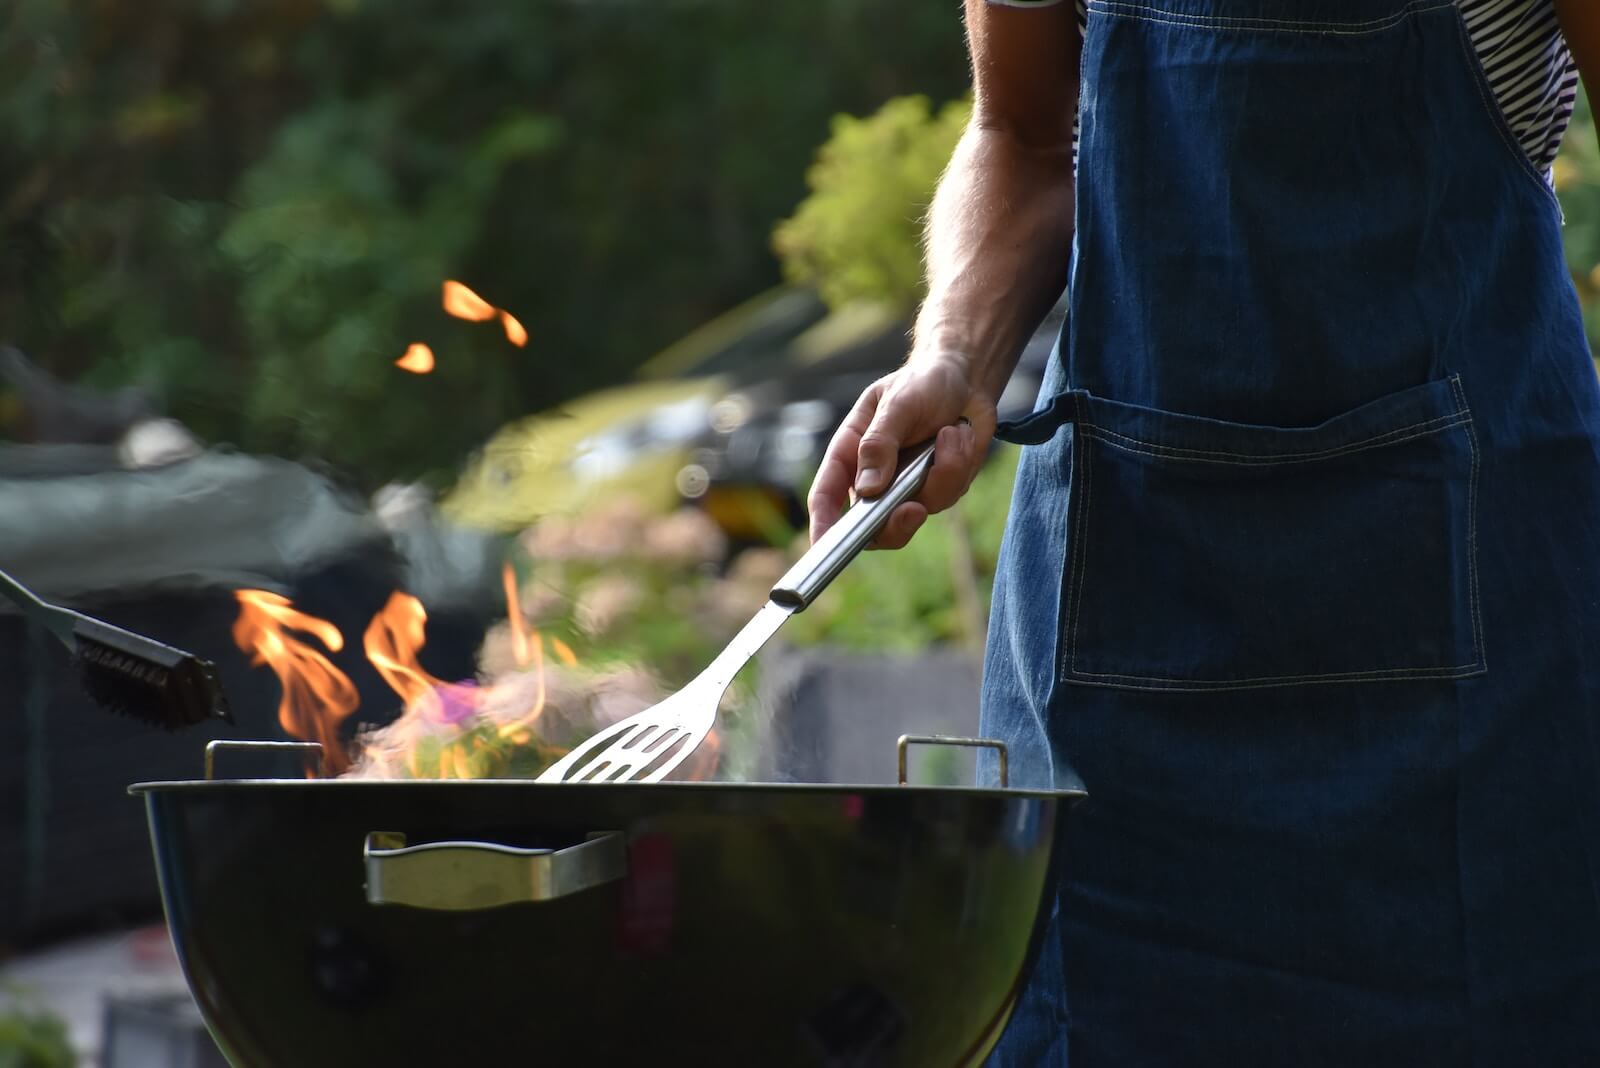
The List: Best Grilling Tricks and Techniques, According to Experts
1. Start with a Clean Grill
In what seems like a no-brainer, let’s start with this first and possibly most important tip. Start with a clean grill, even if all you do is empty the grease trap on a gas grill or scrape the grates. “This will allow the flavor of whatever you’re cooking to shine through and not mix with flavors left behind from whatever you cooked last on the grill. It also helps prevent food from sticking to the grill… Don’t have a grill brush? Use a balled up piece of foil to clean the grill. If cleaning when the grill is hot, hold the ball of foil with tongs to clean the grill and avoid burning your fingers!” as explained by blogger Whitney Bond.
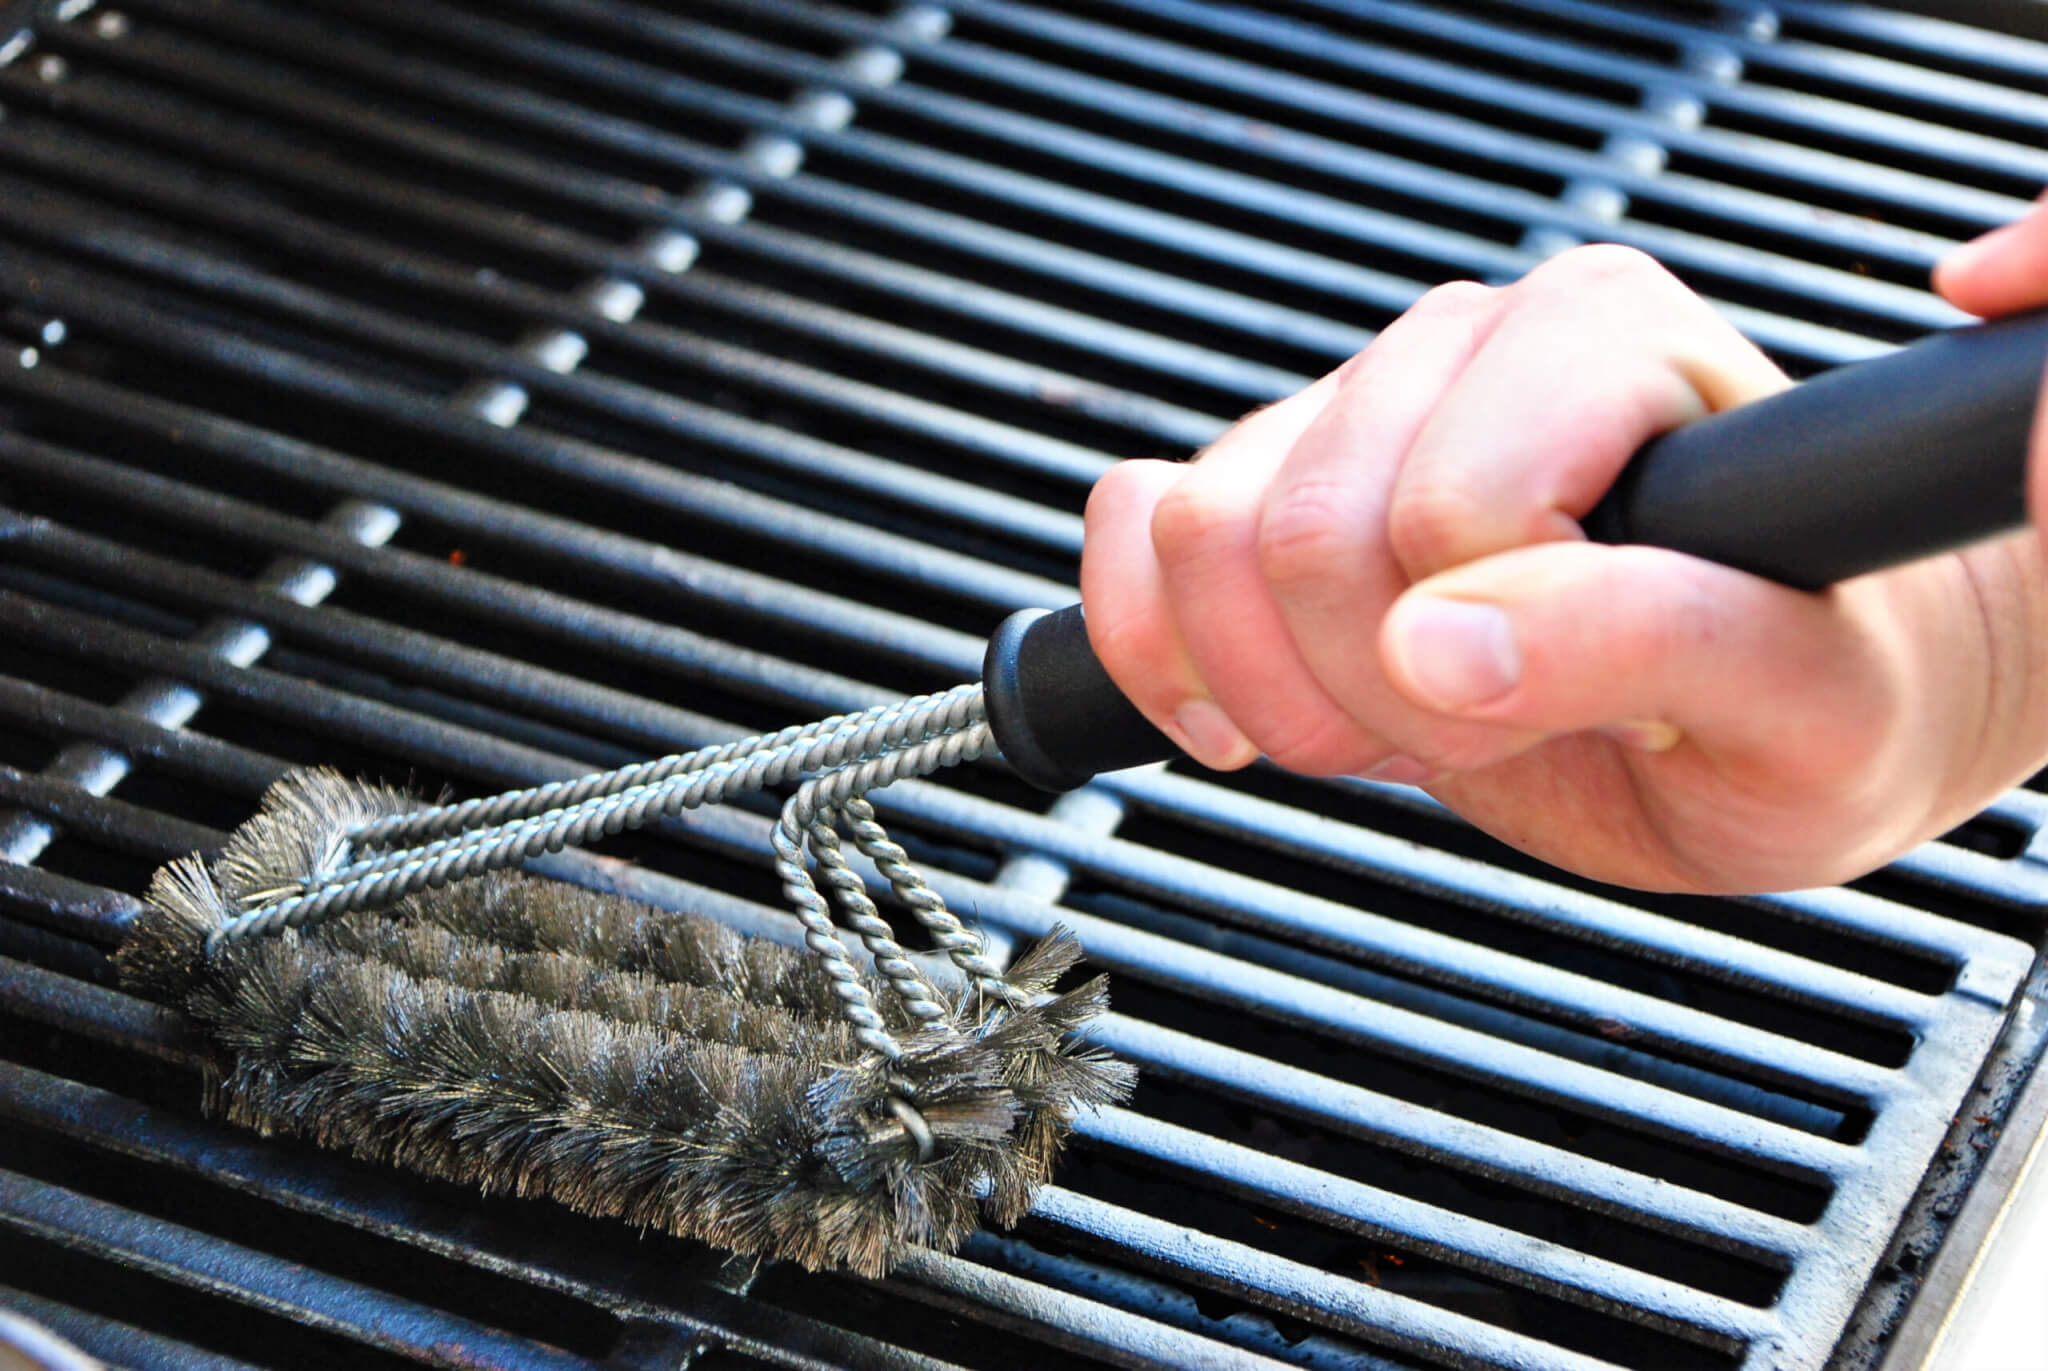
Another source recommends best practices for cleaning: “When bits of food have stuck to your cooking grate, and the grate is hot, clean it with a stainless steel brush. This step is not only for cleanliness. It also prevents your food from sticking. Note: Replace brush if any loose bristles are found on cooking grates or brush,” notes Weber.
Our sources all agree that great grilling starts with a clean cooking surface. “This should go without saying but, given the state of some grills out there, it still needs to be said: just because that grill is an outdoor piece of cooking equipment doesn’t mean it doesn’t need a good scrubbing. Yes, the flame burns a lot of bacteria off, but that does not negate the fact that caked-up layers of food stuck on a grill is downright unappealing,” stresses Tasting Table.
2. Preheat the Grill
Eager cooks can sometimes make this common mistake, don’t start cooking before the grill gets hot. “It’s tempting to start cooking right after you’d fired up the grill, but you’ll get better results if you allow time for the whole grill to get nice and hot! To gauge the heat of a fire, hold your hand about four inches above the grill grate and start counting: ‘One Mississippi, two Mississippi….’ Over a hot fire, you’ll get to two or three before you’re forced to move your hand; over a medium fire, four to five; and over a medium-low heat fire, eight to ten,” clarifies One Good Thing.
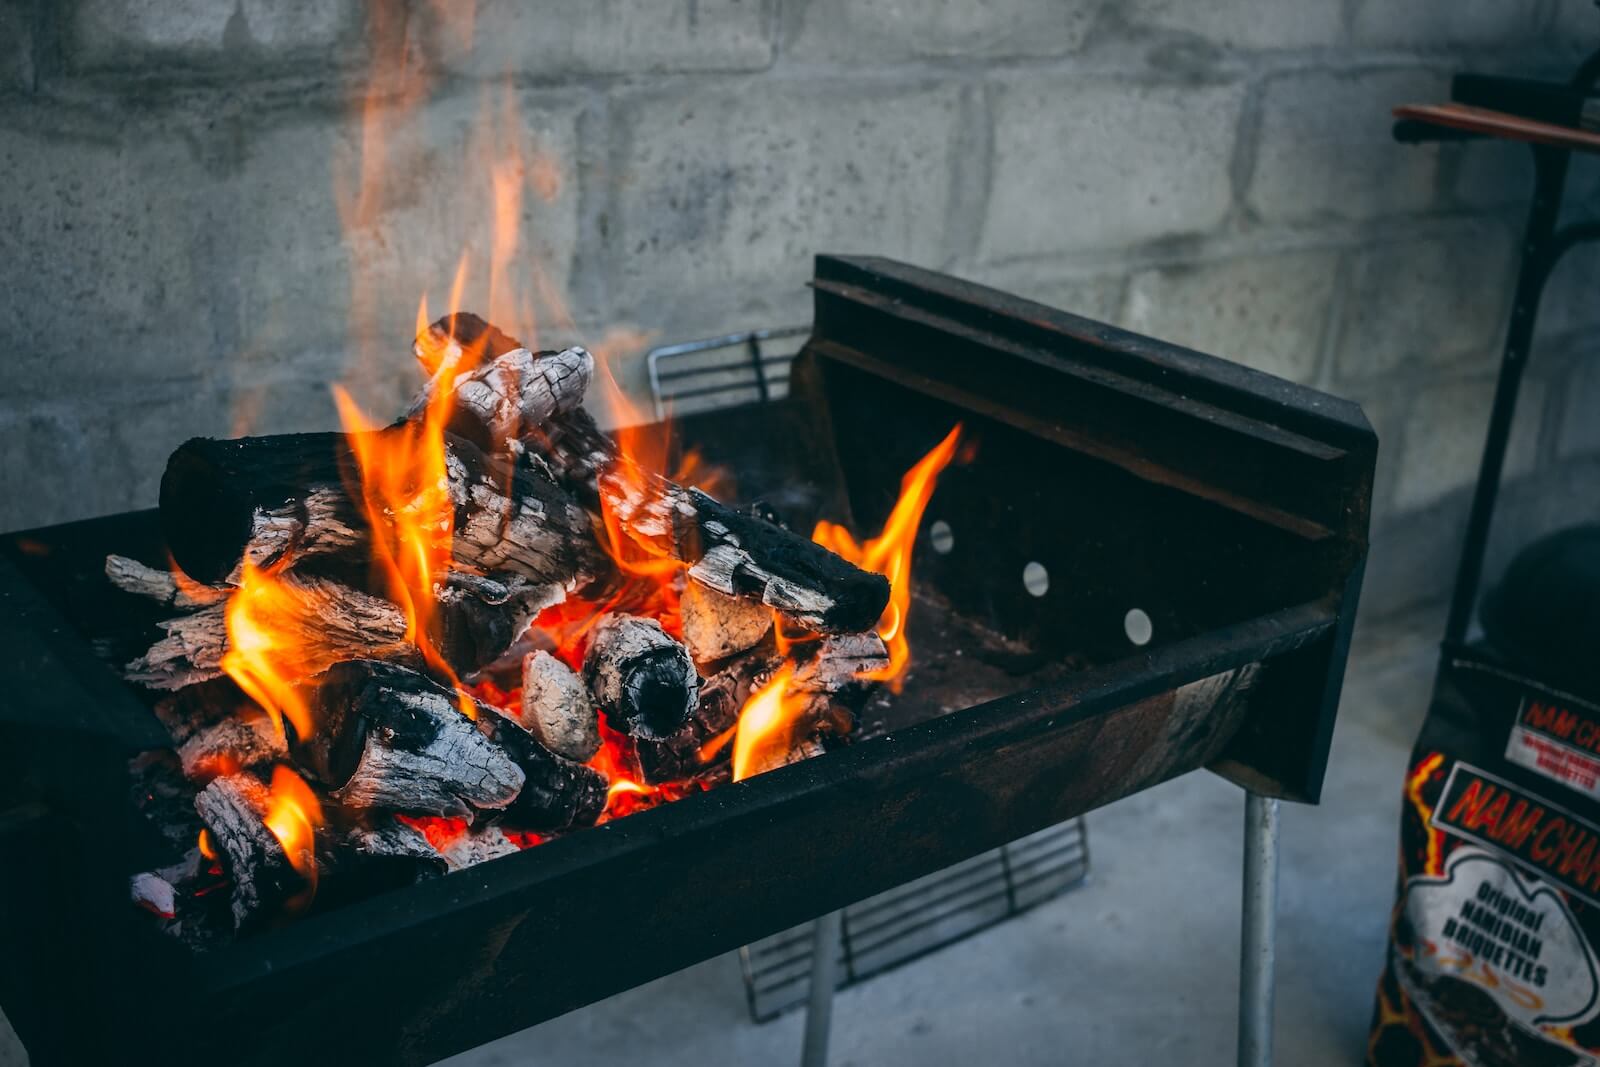
The amount of time needed to preheat will vary depending on the type of grill. Generally speaking, “Charcoal Grills need about 20 minutes to preheat, so keep that in mind when you’re prepping your meal. If you’ve cooked with your charcoal before, be sure to discard any ashes from previous uses… Gas grills heat pretty quickly, so you’ll only need to build in about 10 minutes of preheat time when planning your meal,” as detailed by CNET.
Patience is a major part of excellent grilling. “You want to wait for the grill to heat up after you’ve turned it on or lit the charcoal. If you’re using a charcoal grill and start the fire with lighter fluid, then you want to wait longer (about 10 minutes) so that the lighter fluid has burned off and doesn’t get into your food,” recommends Spoon University.
3. Use Both Direct and Indirect Heat
For the best results at the grill, create both direct and indirect heat areas. Here’s what that means: “Direct heat: This means the item you’re grilling is directly above open flame. It’s the hotter part of the grill and great for searing or getting nice grill lines, however, it’s possible to overcook the outside of the item before the inside is done to your liking. This is where indirect heat comes into play. Indirect heat: This is a separate part of the grill that is still hot because the grill is preheated, but there are no flames directly below the grate. This setup gives you the best of both worlds. You can start something over direct heat and move it to indirect to finish it,” as explained by Kitchn.
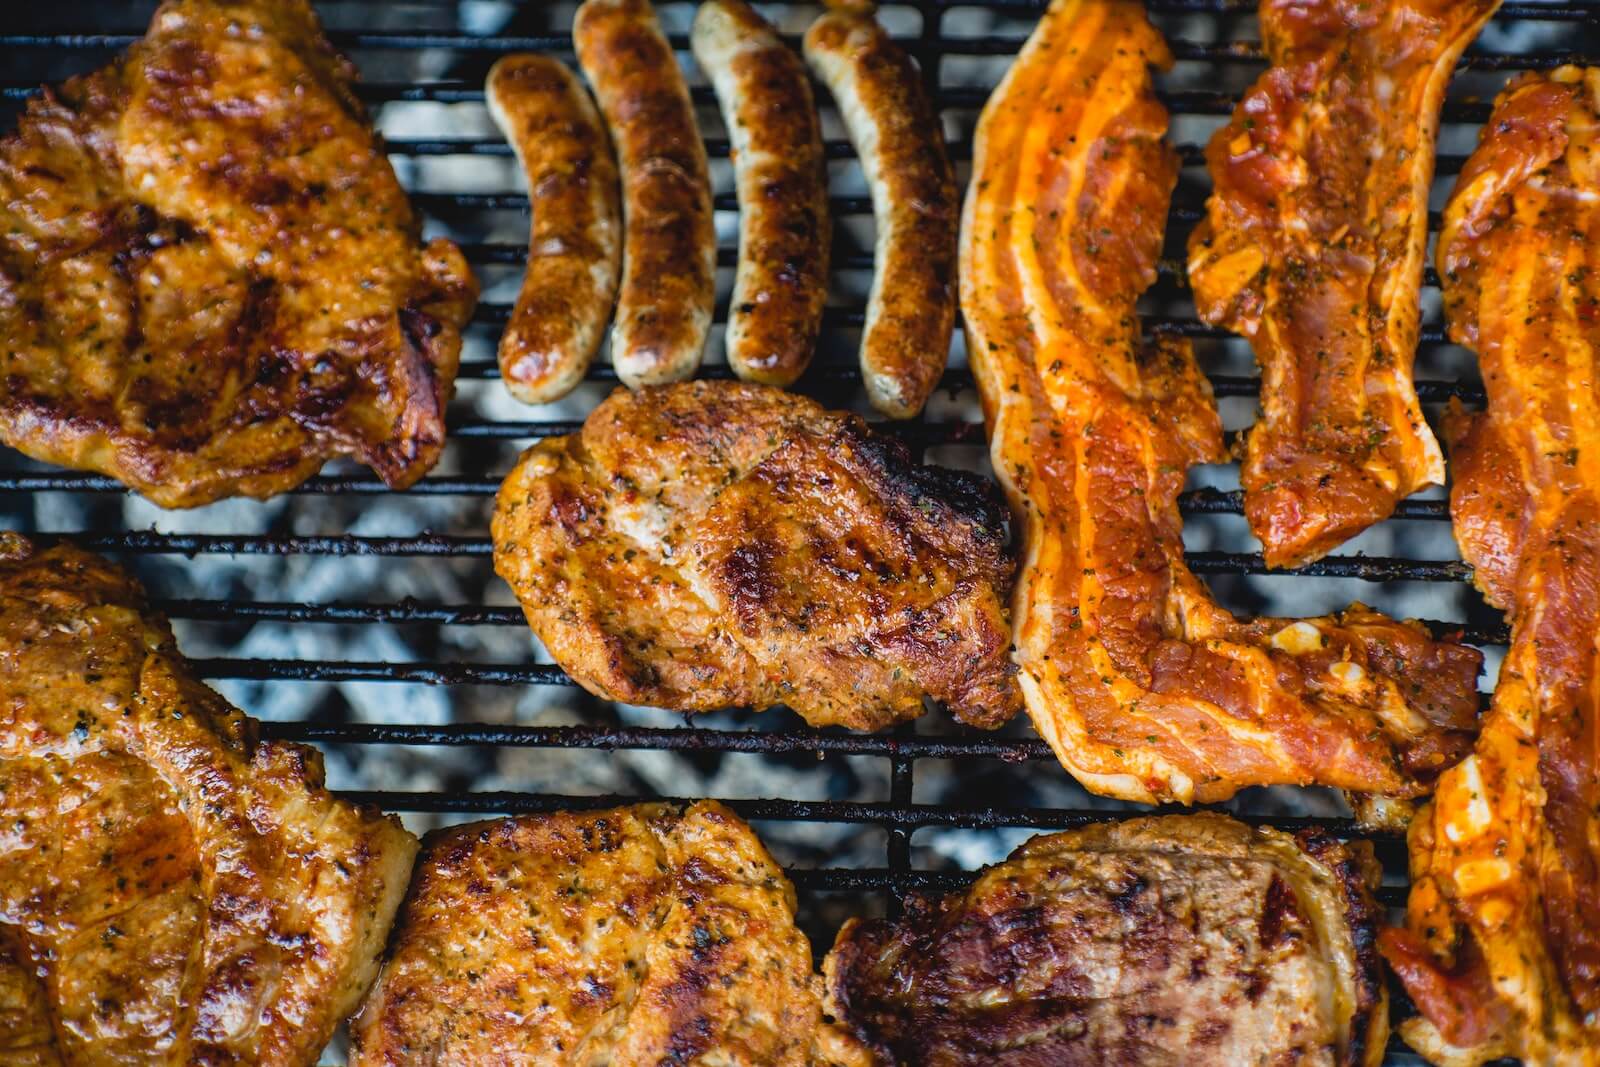
Chicken can be especially tricky for new grill cooks. Reaching an internal temperature of 165°F is essential to limit the chance for food-borne illness. Knowing when to use indirect cooking can help with this. “Can’t decide whether to use a direct or indirect grilling method? If the food takes less than 20 minutes to cook, use direct heat; if it takes longer, use indirect heat…This is one of the best tips for grilling chicken to ensure juicy results. Smaller pieces like breasts and thighs are best grilled directly, while whole chickens should be grilled indirectly,” according to Better Homes & Gardens.
The way to set up different heat zones is detailed as follows: On a charcoal grill, when your coals are ready, pour them out of the charcoal chimney onto one side of the grill. Now you’ve got yourself a two-zone fire. You can sear your food over the coals and move it to the other side to cook more slowly… On a gas grill, you can create a two-zone fire by turning on only half of your grill,” as explained by CNET.
4. Use a Meat Thermometer
There is simply no substitute for a good meat thermometer when it comes to food safety. One source lists the recommended doneness temperatures for various meats: “Use an instant read thermometer to make sure meat is cooked to the proper temperature on the grill. Rare Beef – 125°F, Well Done Beef – 160°F, Ground Beef Burgers – 160°F, Pork – 145°F, Chicken – 165°F,” as detailed by Whitney Bond.

Meat thermometers are inexpensive, readily available, and easy to use. “An instant-read thermometer is your best friend when it comes to grilling. Use it to check the internal temperature of your meat,” says Donatella Arpaia, chef and partner at Prova Pizzabar in New York City… cooking times will vary slightly based on many factors, including wind, the thickness of the food, the starting temperature of the food, the grill preheating time, and the temperature of the fire,” writes Eat This, Not That!
Our sources stressed that a good instant read thermometer will ensure that your food is fully cooked. “If you want to avoid undercooked or overcooked meats, invest in one of the best meat thermometers. They will ensure your meat is cooked all the way through, and is safe enough to eat. Plus, this is an essential tool if you’re hosting a backyard party or gathering as you don’t want your guests falling ill!” exclaims Tom’s Guide.
5. Let the Meat Rest
So you’ve grilled the perfect pork chop, but before you can dig in you need to let the meat rest. “The resting process allows the juices to redistribute themselves throughout the meat. I prefer to let my meat rest uncovered because the covering causes the food to steam and can make the golden brown crust or skin soggy.” Follow your recipe to know how long to let meat rest. We know, we know, this is the hardest of the grilling tips to apply, but one bite is all the proof you’ll need that it’s worth it,” details Better Homes & Gardens.
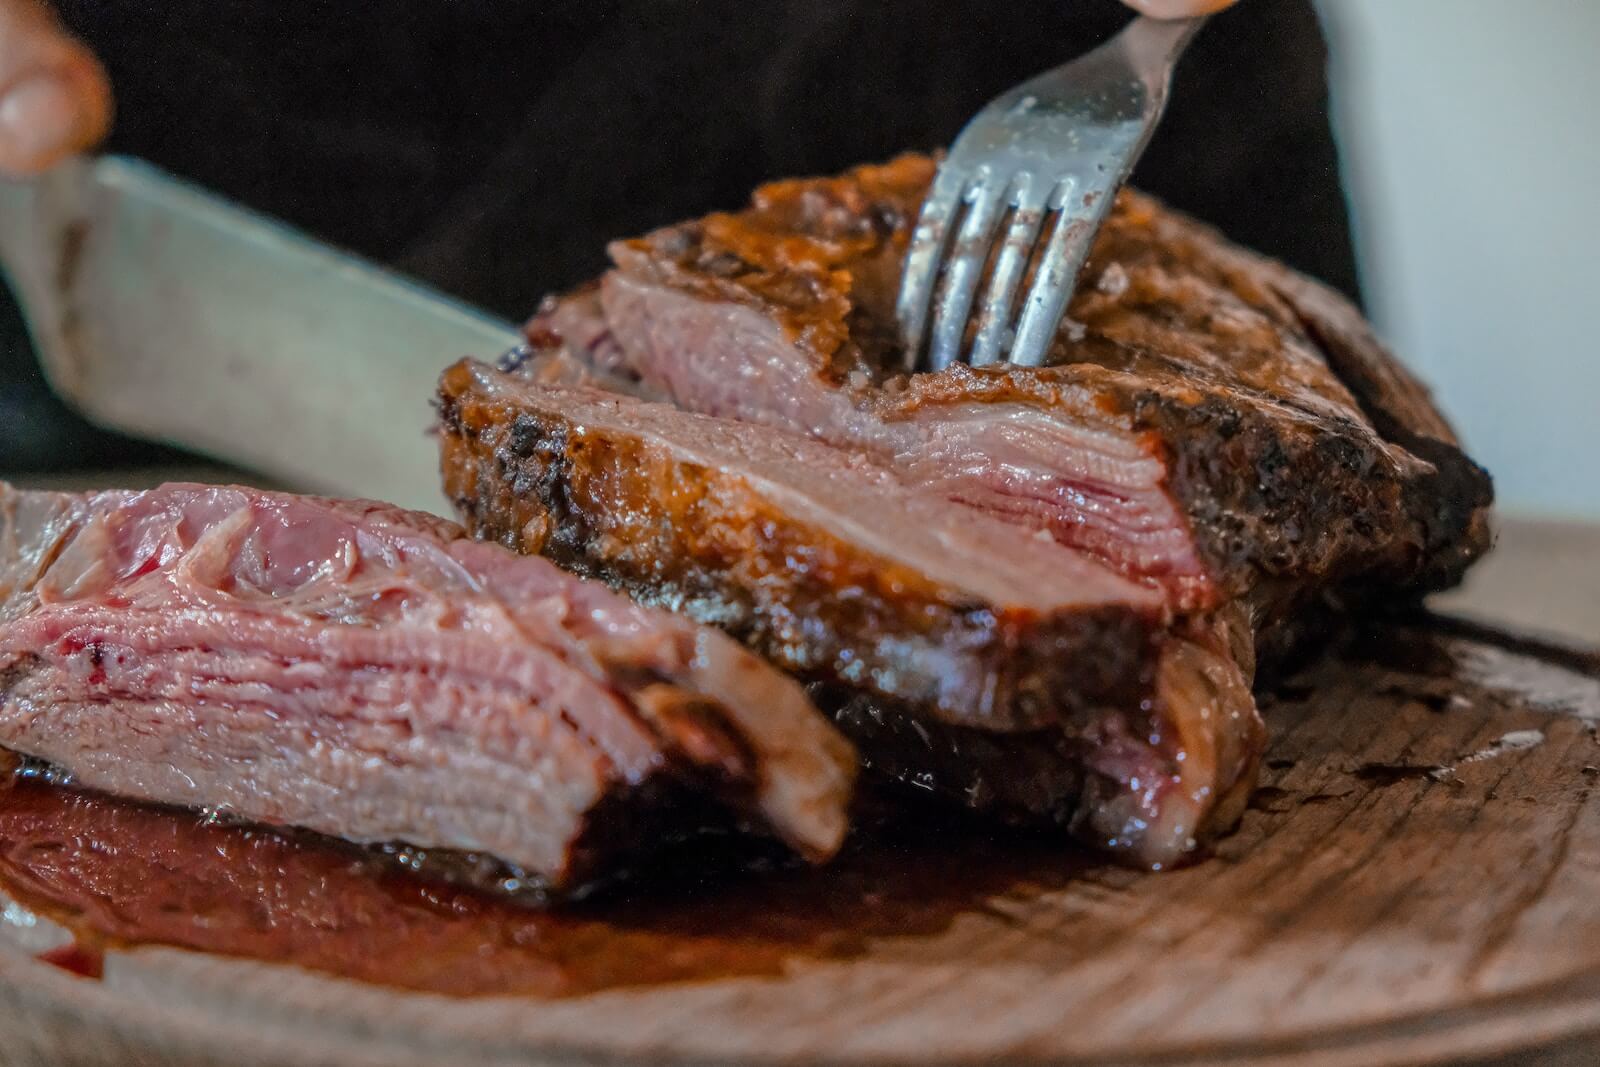
Allowing grilled items time to rest is especially important for red meat. “As tempting as it may be to slice into your steak when it’s fresh off the grill, it’s crucial to let the meat rest for a few minutes… To taste the quality, you should always let the meat rest for about four minutes before cutting it,” according to Eat This, Not That!
Temptation will be your worst enemy at this point, but patience will pay off. “Despite how hungry you or your guests might be, allow the meat to rest for at least 5-15 minutes before slicing into it. This tip is a great way to preserve the juices and flavors, and ensures it doesn’t dry out. Experts suggest placing meats on an elevated cooling rack so it rests evenly. Then you can look forward to delicious grilled meat feasts,” recommends Tom’s Guide.
Editor’s Tip: The Onion Method
“A more natural alternative to using a grill brush for cleaning your grill is to use a raw onion,” says StudyFinds Associate Editor, Sophia Naughton. “Using a grill brush can lead to metal or plastic bristles shedding onto your grill’s surface, and eventually into your food. Cut an onion in half and use it to scrub your grill clean. Not only is it effective, but it prevents sharp bristles from invading your yummy dinner and adds a little tasty hint of onion flavor to anything you cook!”
You might also be interested in:
Sources
- Whitney Bond
- Better Homes & Gardens
- Eat This, Not That!
- Tom’s Guide
- Weber
- Tasting Table
- Kitchn
- One Good Thing
- CNET
- Spoon University
Note: This article was not paid for nor sponsored. StudyFinds is not connected to nor partnered with any of the brands mentioned and receives no compensation for its recommendations.
